


In the spirit of preparation for Christmas, here’s a neat little Christmas project you can easily do with your kids (or your mom-in-law!):

It’s a $8 soldering kit I picked up a month or two ago at Fry’s, the Velleman “3D Xmas Tree” MK130. Velleman makes lots of these kind of cool little kits.
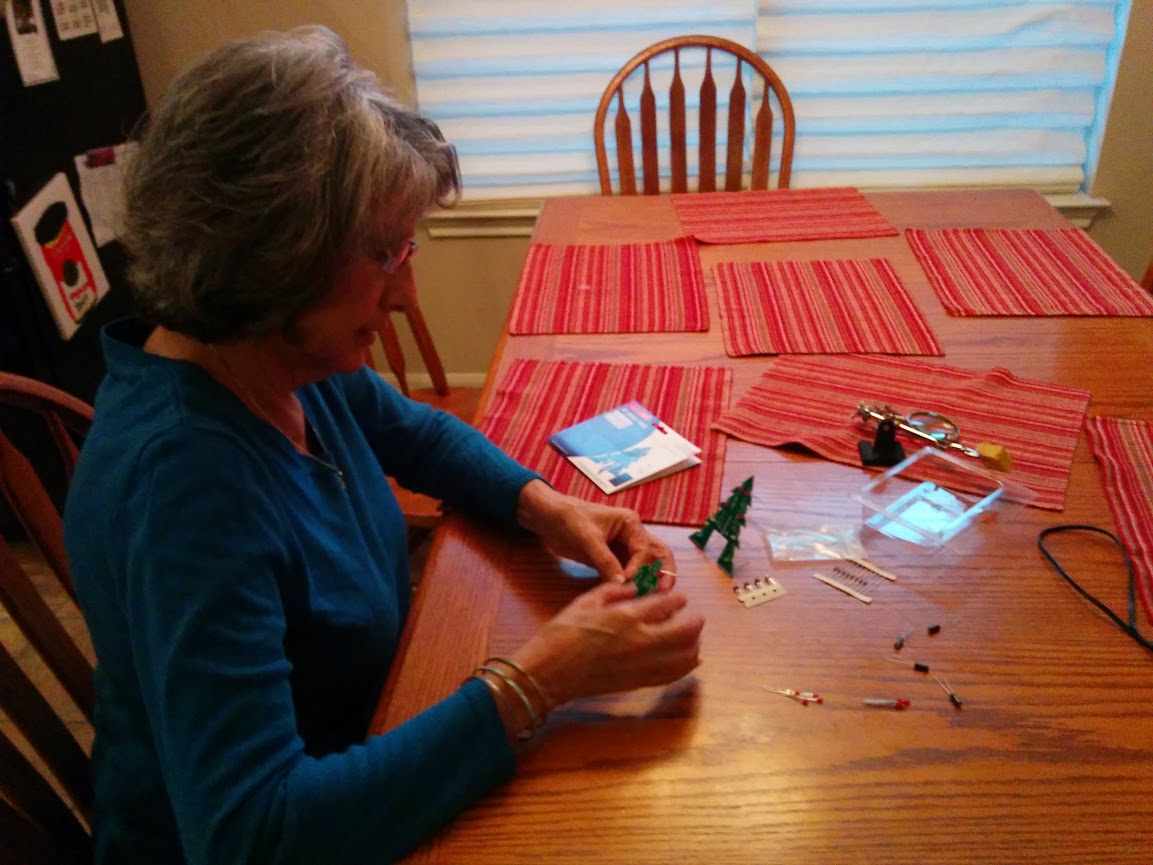
My mother-in-law inserting the LEDs to her color arrangement preference.
Some assembly tips:
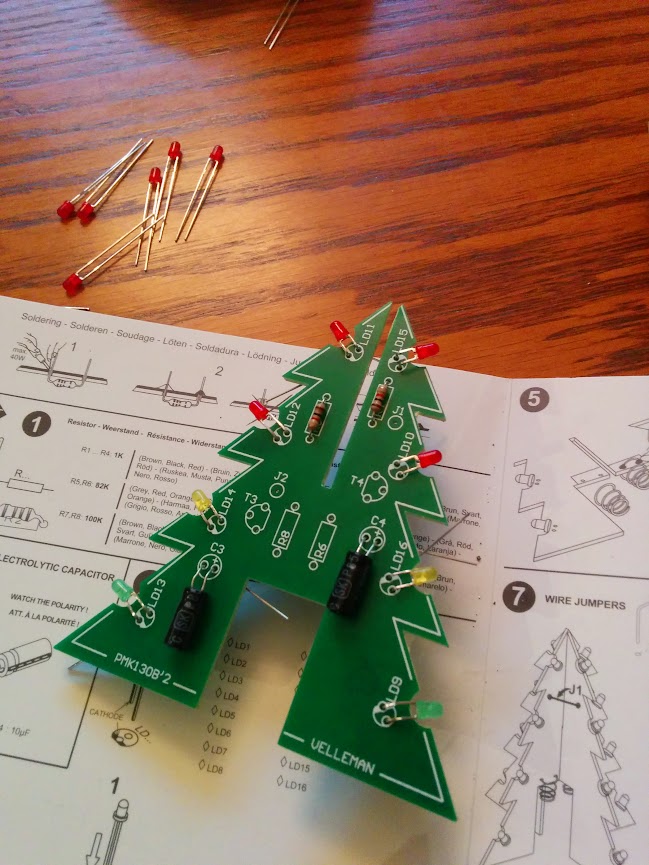
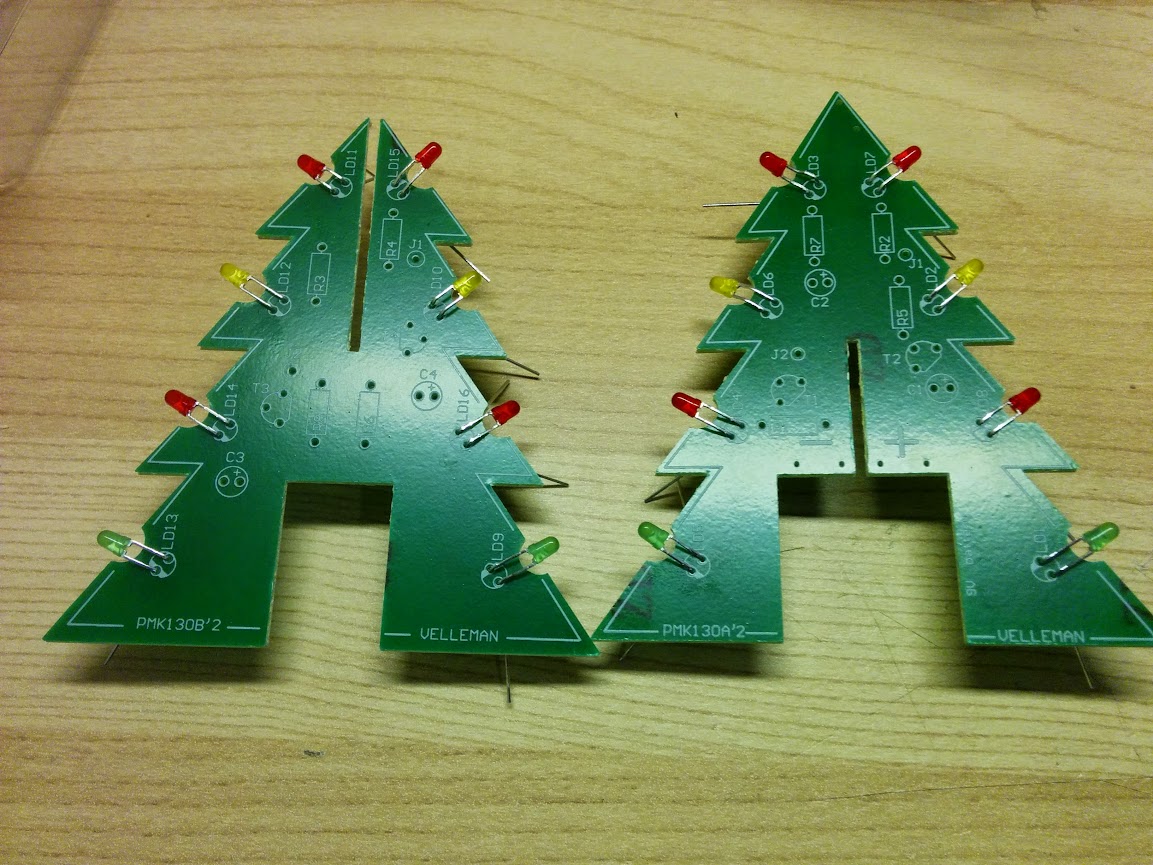
When inserting the LEDs, be sure not to push the all the way in, leave some extra wire out so you can bend them as shown above.
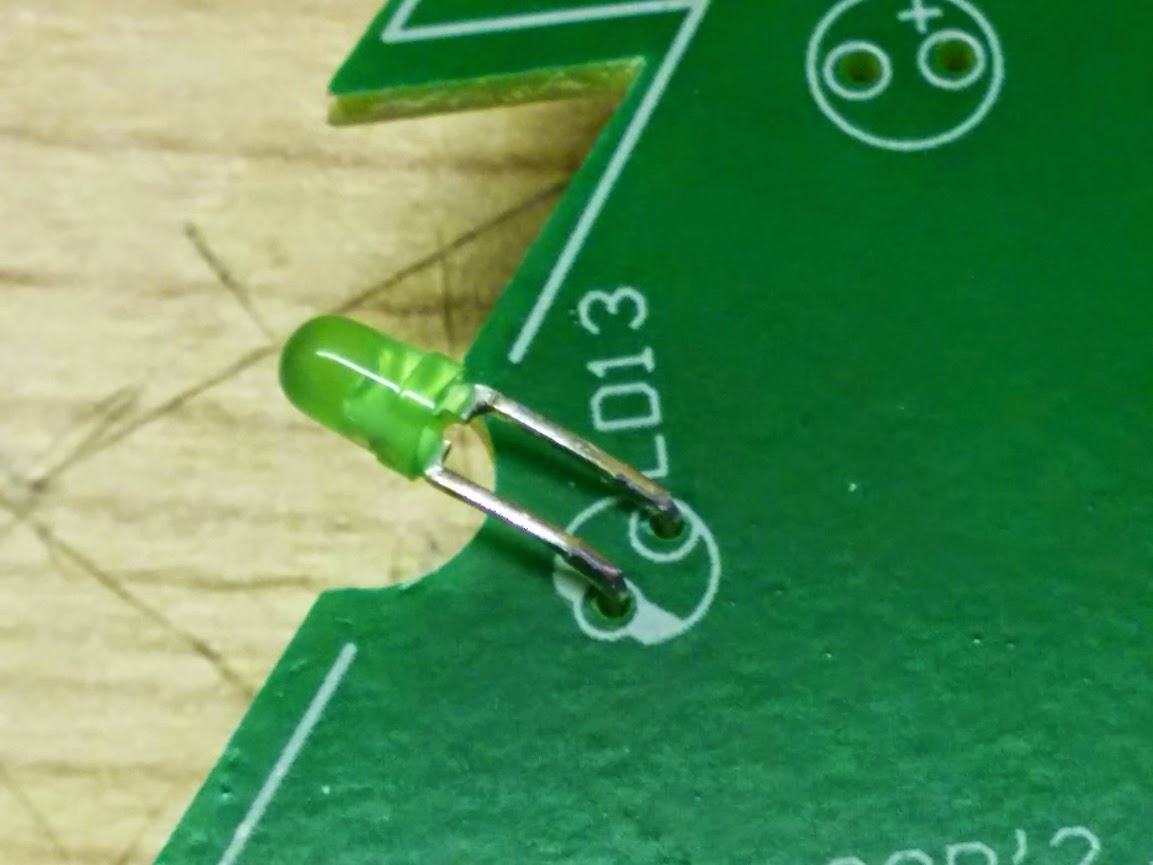
It’s also very important when inserting the LEDs that the cathode (negative) leg of the LED go into the negative hole of the PCB (circuit board). Here’s a quick reference:
![electronics_led_diagram[1]](http://www.nanowonders.com/wp-content/uploads/2014/11/electronics_led_diagram1-300x194.png)
Do a quick check after all the LEDs are inserted that all of them are oriented properly BEFORE soldering. If your LEDs dont’ have a flat edge (these don’t) another quick way to double-check is to look inside the “head” of the LED and check that the “bigger” part inside (on the right above) corresponds to the negative side (shown on the PCB with more flat and thicker white).
Same issue with polarity is there for the capacitors. The caps conveniently have several large “-” signs running down the negative side, which means the other lead needs to go where it says “+” on the PCB. Be careful also to not insert the capacitors all the way in either, as you need to leave room for bending them down. Given the “3D” nature of this particular project, having the components not sticking out makes putting together the two PCBs much easier.
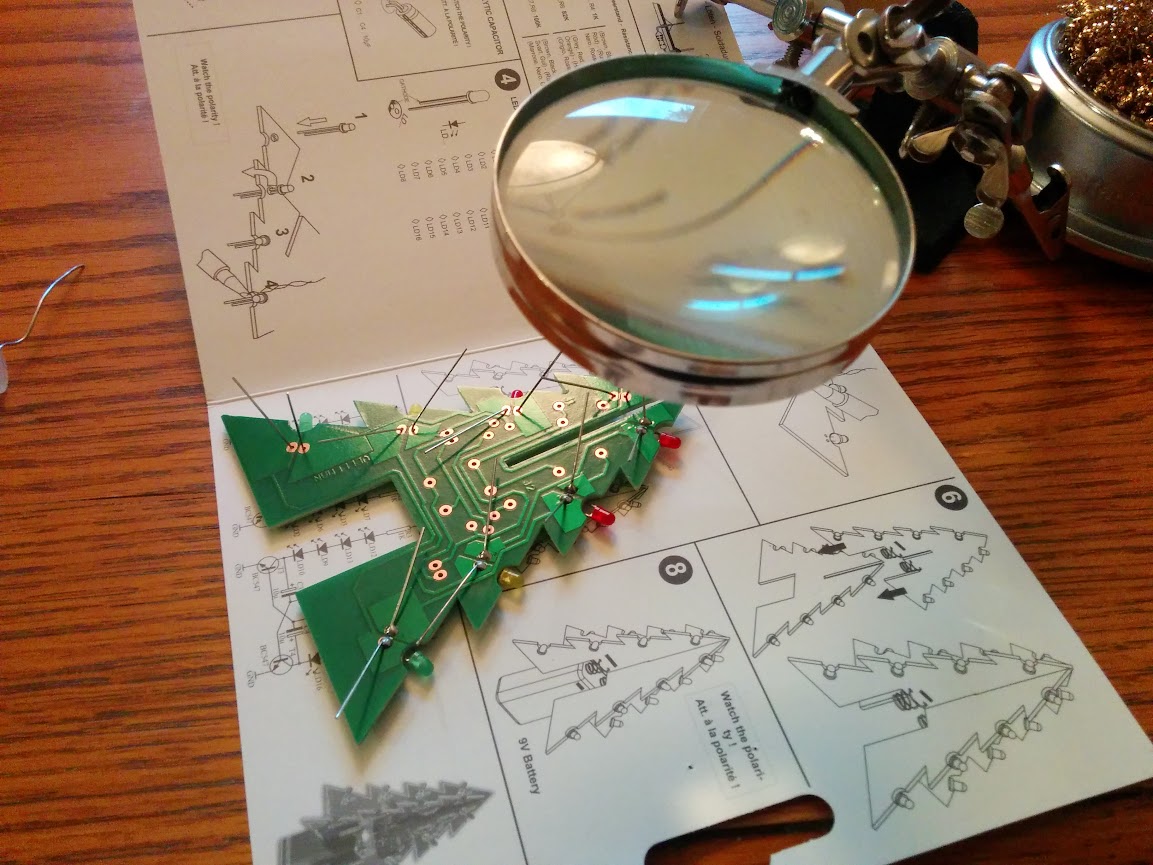
Once you have the LEDs where you want them, separate the extra wire on the other side which will serve to hold the LEDs in place while soldering them. Do the same trick for other components. I generally wait to clip off the extra wire until I’m absolutely sure that the component is placed properly, as it’s much harder to fix once the leads are shorter!
Finally, be careful when soldering so as to not overheat the PCB causing the pads to lift! This happened a couple of times to me when making this tree! Below is an example of lifted pad not from this project, but from a great Adafruit page on common soldering problems (of which I often have many!):

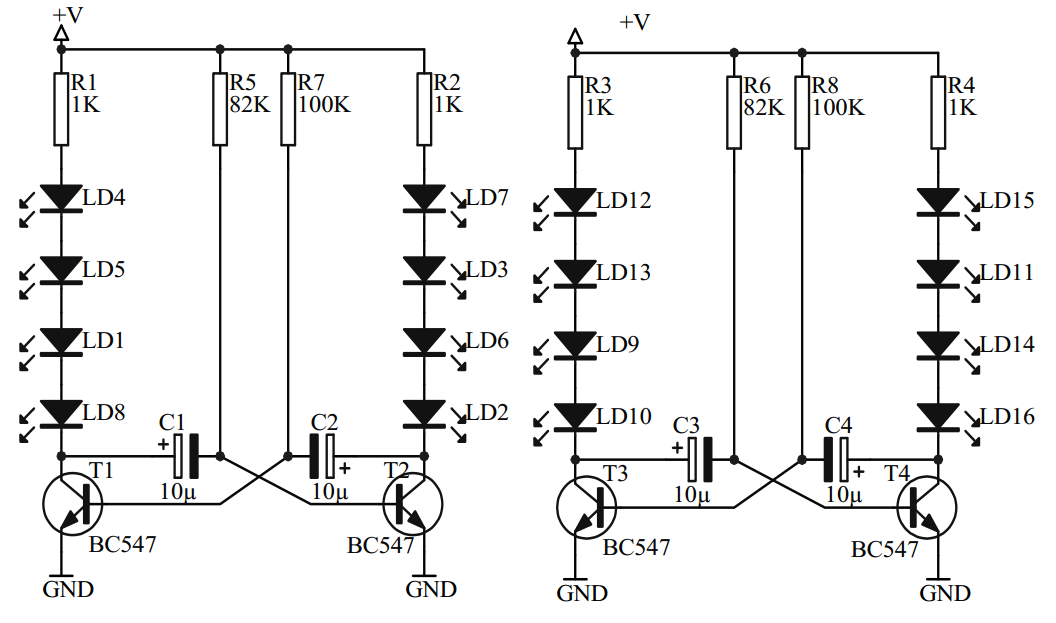
I was able to find which joints were bad by using the circuit diagram enclosed in the box with the kit. By figuring which lights worked and which didn’t was able to track the problem down to 2 branches of the circuit.
After some tribulation, here is the final result:
Repeat a few more times if desired:
Merry Christmas!