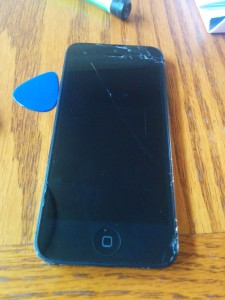
Recently I had the occasion to repair a screen on an iPhone 5. I’ve done this kind of thing before and was looking forward to this one in particular as it was a gift for someone and the replacement screen was a good one.
(Technically, the screen itself is fine, just the outermost layer of glass is cracked, but the LCD-digitizer-glass sandwich is so hard to take apart that it’s easier to just replace the entire sandwich).
No matter how careful you are and how good your tools are, with the tiny screws involved in microelectronics, the inevitable will happen. You will strip a screw.
With this repair I managed to do this not once but TWICE.
Fortunately, I’ve seen this before AND remembered how to resolve it. Funnily enough, it was also when repairing an Apple product, a Macbook.
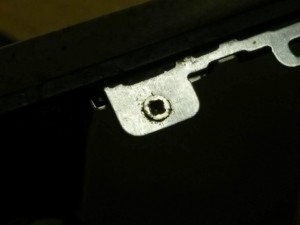
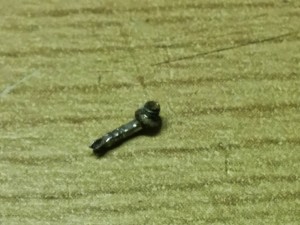
Unlike larger stripped screws, you can’t use special drill bits or cut the screw head to make a slot due to the small size of the screw. The one shown above is about 1.5mm in diameter.
The trick is to use solder to help you get a ‘handle’ on removing the stubborn screw!
Solder?
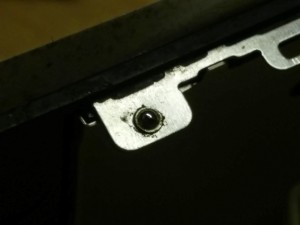
First, apply solder to the hole (apply the soldering iron to the edge of the screw head, heating it up, then let the solder melt into it):
Then get a bit of metal to use as a handle. In my case I keep all leftover bits of wire and pin headers that get chopped from other projects. Heat the screw head again, when the solder in the screw melts, stick the handle into place.
The handle needs to be long enough to give you enough torque to turn the screw but not so long as to get in the way while turning. The first time I saw this I was doubtful that the solder would hold, but…
I used the same tiny Phillips screwdriver to gently push the arm of the handle in the direction I wanted to go and it turned! If the handle pops off just re-solder it on a little better (be sure to heat the handle and let the solder flow to it).
Leave the handle on it until you complete your repair and need to put the screw back as you’ll need it.
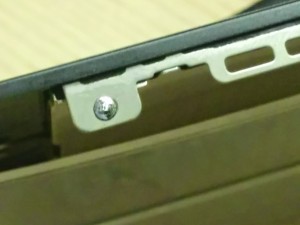
Once you’re done with your repair, simply use the handle to put the screw back into place, then de-solder the handle back off:
If you ever need to go back into the device to fix it again (hopefully not!) the solder will serve as a reminder that this screw needs special attention.
Why does this work?
My guess is that the solder acts as the perfect screwdriver or wrench, filling the hole perfectly so that you maximize the contact which maximizes the transfer of torque. Also, the handle increases the torque you can apply by acting as a longer lever arm.
So as long as the solder joint between the handle and the screw requires more torque to break than the “joint” between screw and socket then the screw will have to come free.
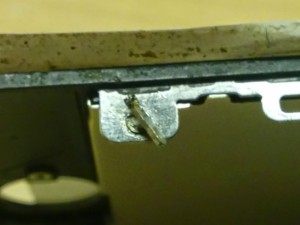
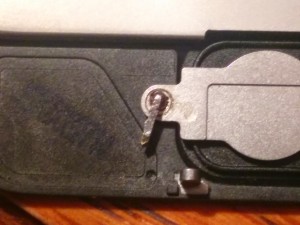
Here’s a photo of stripped screw #2 with its handle:
Happy fixing!


